How Do You Draw A Clover? A Comprehensive Guide To Mastering This Simple Yet Beautiful Design
Learning how to draw a clover is a delightful way to express creativity and connect with nature through art. Whether you're a beginner or an experienced artist, the process of drawing a clover can be both relaxing and rewarding. By following this guide, you will master the art of creating realistic and stylized clover designs effortlessly.
Clover drawings are a popular choice for artists of all levels because they are simple yet versatile. From minimalist sketches to intricate designs, clovers symbolize luck, prosperity, and harmony, making them a meaningful addition to any artwork. In this article, we will explore step-by-step methods to help you create stunning clover illustrations.
By the end of this guide, you will not only understand the basics of drawing a clover but also gain insights into advanced techniques that elevate your artistic skills. So grab your pencil, paper, and let’s dive into the world of clover artistry!
Table of Contents
- Understanding the Clover: What Makes It Unique?
- Tools You Need to Draw a Clover
- Basic Steps to Draw a Clover
- Adding Details and Shading to Your Clover
- Different Types of Clovers and How to Draw Them
- Creating a Clover in Digital Art
- Common Mistakes to Avoid When Drawing a Clover
- Inspired Creations: Incorporating Clovers into Art Projects
- Tips and Techniques for Perfecting Your Clover Art
- Conclusion: Start Drawing Your Own Lucky Clover Today
Understanding the Clover: What Makes It Unique?
Clovers are small, leafy plants often associated with luck, especially the four-leaf variety. However, their significance extends beyond superstition. The structure of a clover consists of three or four heart-shaped leaves connected at the base. This symmetry makes it an ideal subject for drawing.
To draw a clover accurately, it's essential to observe its natural form. Notice how the leaves curve slightly outward and taper at the tips. Understanding these nuances will enhance the realism of your artwork.
Symbolism Behind the Clover
Throughout history, clovers have been symbols of good fortune, faith, love, and hope. Each leaf represents one of these attributes, with the fourth leaf symbolizing luck. Incorporating this symbolism into your art can add depth and meaning to your creations.
Tools You Need to Draw a Clover
Before you begin, ensure you have the right tools to bring your clover drawing to life. Here’s a list of essentials:
- Pencils (various grades such as HB, 2B, 4B)
- Eraser (kneaded or vinyl)
- Sketchpad or drawing paper
- Fine-liner pens (optional for inking)
- Colored pencils or markers (for adding color)
Having quality tools will make the drawing process smoother and more enjoyable. Experiment with different materials to find what works best for you.
Basic Steps to Draw a Clover
Now that you have your tools ready, let’s break down the fundamental steps to draw a clover:
- Start by sketching a small circle as the center of the clover.
- Draw three or four heart-shaped leaves around the circle, ensuring they overlap slightly.
- Refine the outline by smoothing out the curves and adjusting the proportions.
- Erase any unnecessary guidelines and finalize the shape.
This method provides a solid foundation for beginners and can be adapted for more complex designs.
Adding Details and Shading to Your Clover
Once you’ve outlined your clover, it’s time to add details and shading to give it a three-dimensional appearance. Consider the following tips:
- Add veins to each leaf using light, curved lines.
- Use cross-hatching or stippling techniques to create shadows.
- Highlight areas where light hits the clover for added realism.
Shading enhances the depth of your drawing and makes it visually appealing. Practice these techniques to achieve a professional finish.
Different Types of Clovers and How to Draw Them
While the classic three-leaf clover is widely recognized, there are variations worth exploring:
Three-Leaf Clover
The most common type, characterized by three symmetrical leaves. Follow the basic steps outlined earlier to create this classic design.
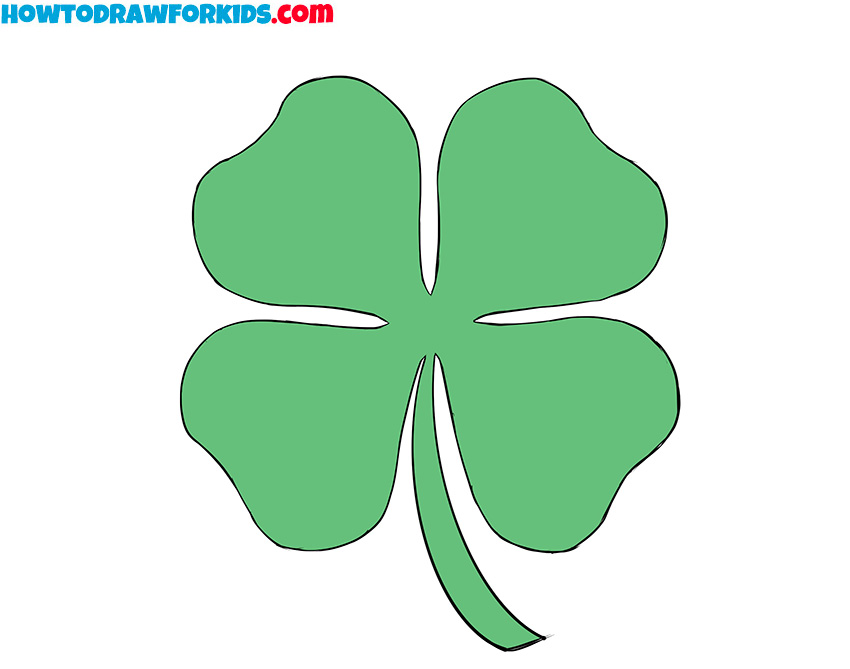
Four-Leaf Clover
A rare and lucky variation, featuring an extra leaf. To draw this, add a fourth heart-shaped leaf opposite the third, maintaining balance and symmetry.
Five-Leaf Clover
Even rarer, the five-leaf clover offers an exciting challenge for artists. Experiment with arranging the leaves in a circular pattern for a unique look.
Creating a Clover in Digital Art
With the rise of digital art, many artists prefer creating clovers using software like Adobe Illustrator or Procreate. Here’s how you can approach digital clover drawing:
- Use a pressure-sensitive stylus for smoother lines.
- Select a brush that mimics traditional pencil strokes.
- Utilize layers to separate different elements of the drawing.
Digital tools offer flexibility and precision, making them ideal for refining intricate details in your clover artwork.
Common Mistakes to Avoid When Drawing a Clover
Even experienced artists encounter challenges when drawing clovers. Here are some common pitfalls and how to avoid them:
- Uneven Leaf Sizes: Ensure all leaves are proportionate to maintain symmetry.
- Overcomplicating the Design: Keep the drawing simple, especially if you're a beginner.
- Ignoring Shading: Adding shadows and highlights can significantly improve the realism of your artwork.
By being mindful of these mistakes, you can create more polished and professional clover illustrations.
Inspired Creations: Incorporating Clovers into Art Projects
Clovers are versatile symbols that can enhance various art projects. Consider incorporating them into:
- Tattoo designs
- Patterns for clothing or accessories
- Illustrations for greeting cards
Let your imagination run wild and explore how clovers can elevate your creative endeavors.
Tips and Techniques for Perfecting Your Clover Art
To take your clover drawing skills to the next level, try these advanced tips:
- Study real clovers to understand their anatomy better.
- Experiment with different mediums to discover new textures and effects.
- Practice regularly to improve consistency and confidence in your work.
Continuous learning and experimentation are key to mastering any art form, including drawing clovers.
Conclusion: Start Drawing Your Own Lucky Clover Today
In this comprehensive guide, we’ve explored the art of drawing clovers, from basic steps to advanced techniques. By understanding the structure and symbolism of clovers, selecting the right tools, and practicing regularly, you can create stunning illustrations that capture their essence.
We encourage you to share your creations with the world. Leave a comment below showcasing your favorite clover design or suggest topics you’d like us to cover in future articles. Happy drawing, and may your artistic journey be filled with luck and inspiration!

How to Draw a Clover 11 Steps (with Pictures) wikiHow
How To Draw A Shamrock Clover Religionisland Doralutz
